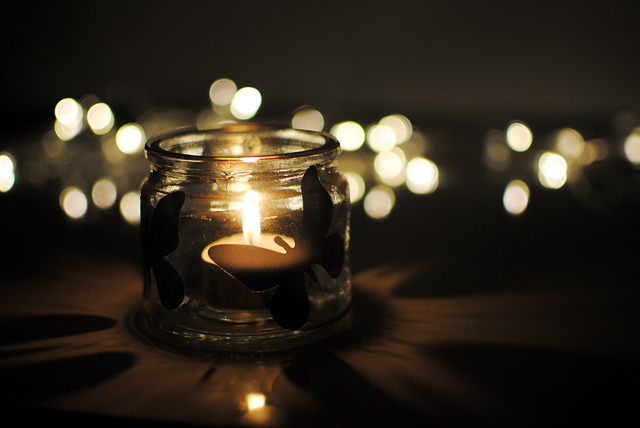
What on earth is bokeh? Well, bokeh is adapted from the Japanese word ‘boke’ which means “blur” or “haze” and in photography terms it’s when the background of your image is aesthetically out of focus or blurry. Little details of light in the background such as fairy lights, candles, sunlight through trees, car headlights or Christmas lights (the list goes on) will blur out to beautiful soft hazy circles such as the photo above! Squint your eyes and look at a string of fairy lights – that’s bokeh.
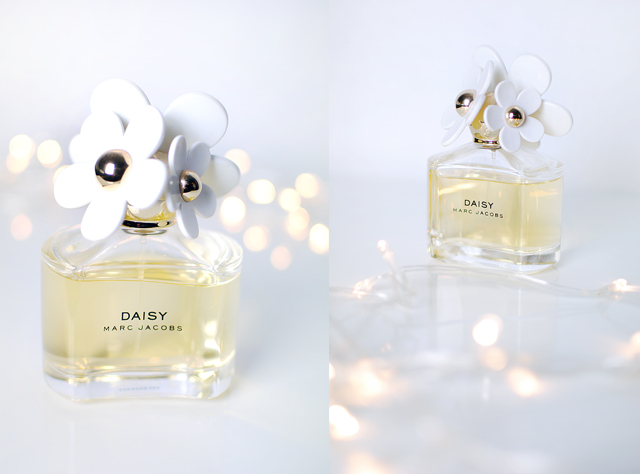
You may have seen images like this all over Pinterest and Instagram. It’s a popular technique and I especially love it for night photography or for portraits. So today I’m going to show you how it’s done and how you can achieve it too. These tips are basic and I’ve tried to keep my explanations as easy as possible so those of you who have only just picked up a camera will still be able to follow along…
– Camera with manual functions
– A lens with a wide aperture such as a 85mm, 50mm, 35mm
– Shallow depth of field (i.e. f1.4, f2, 2.8)
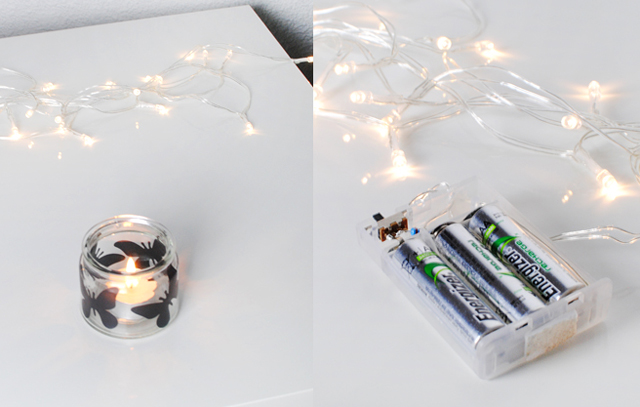
– Pretty background and on object to place in the foreground
This technique can be achieved with a standard compact camera but personally I’ve found it tricky as most compacts do not have manual focus or allow you to manually alter the aperture. Using my DSLR with a 50mm or 35mm fixed lens lens makes it super easy.
I used a Nikon D3000 with a 35mm fixed lens set on F1.4 and altered my Shutter Speed/ISO accordingly.
– Shallow depth of field = where the background is very blurry and out of focus
– Wide Aperture = how wide your camera lens can open up, letting in more light, creating the blurry background. The wider the aperture the smaller the number. For example, an f stop of 1.4 is very large.
– Shutter Speed = how fast the camera takes the picture
How to create Bokeh…
001. Your camera needs to be on the Manual (M) setting.
002. Turn your aperture to it’s lowest number so your lens may take you down to stop f1.4, f2, f2.8 or f4. The smaller the number the better. The shallow depth of field created with a wide aperture stop helps to blur the lights.
003. Alter your shutter speed to compensate for this aperture change. If you don’t your image may be very underexposed (dark) or very overexposed (bright)
004. Shooting in a dark room or out on the street at night will have different needs to shooting in the sunlight or in a well lit room. Trial and error with taking shots and changing the shutter speed until you have your desired look. A tripod or stable surface may come in handy especially if you are shooting in a dark room.
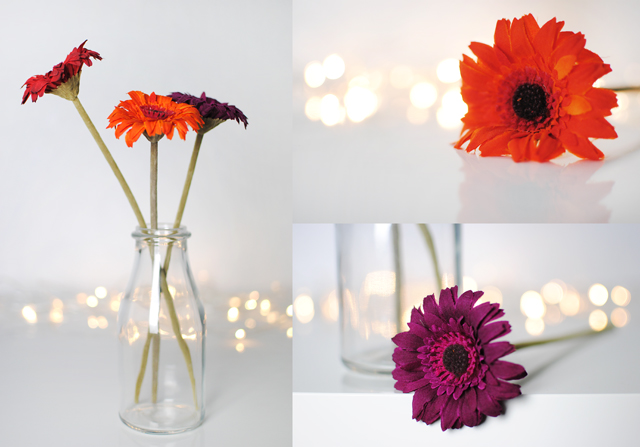
005. Shooting in a spot with lots of twinkly lights in the background works the best. Fairy lights are perfect for practicing.
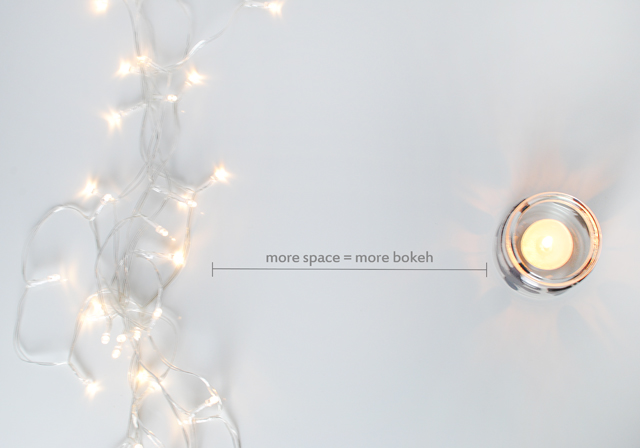
006. Point, and focus on the object in the foreground, whether that’s your coffee mug or your mum’s face. The foreground object/subject needs to be a fair distance from your background lights – you can play around with this distance.
007. Moving the camera closer to your foreground subject, or zooming in will also increase the bokeh.
008. Take the shot! Take lots of shots! Keep trying, adjust the settings if it’s not quite right – if the whole photo is blurry put the camera on a solid surface.
– Shooting in a low light room or outdoors makes the bokeh effect especially obvious.
– But you’ll need to light up your main subject (lamps or spotlights work well)
– Try moving the background lights around if possible or move yourself around the scene for different angles
This effect can make your blog photos or even portrait photos of your friends and family extra special. If you enjoyed reading these photography tips please let me know and if you’d like to see more in the future leave me a comment with your burning photography questions and I’ll do my best to answer them! If you have any questions about anything mentioned in this post feel free to ask me on
Twitter. Have fun with your Bokeh photographs!