“3 Lightroom History Tips” plus 1 more: Digital Photography School |
 |
|
Posted: 05 Nov 2013 10:37 AM PST
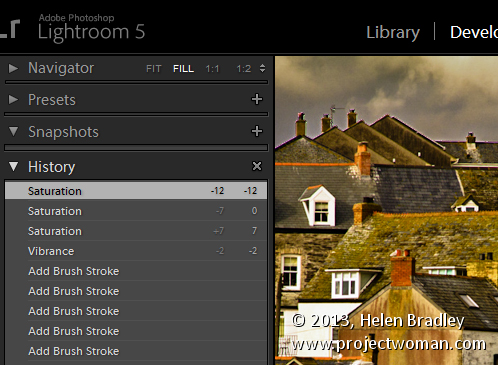
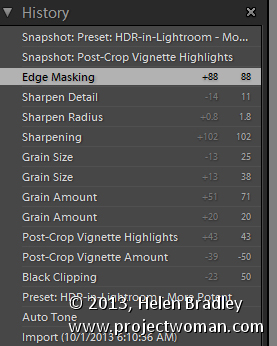
Like Photoshop, Lightroom has a History feature that shows a list of the fixes you’ve applied to an image. It can be used to wind back changes that you have made to an image. Unlike the Photoshop history, the Lightroom history entries don’t disappear when you close Lightroom – they remain accessible from one instance of Lightroom to the next. The History panel is on the left in the Develop module. Click to open it and you’ll see a list of the edits made to the image. These read from bottom to top so the topmost history setting is the one you applied last to the image. These History settings show not only the sliders you adjusted when editing the image but also the final value of that slider and the amount of change you made at that step.
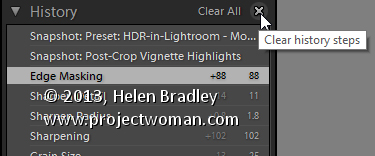
You can wind back the history of changes that you’ve made to the image by clicking any of the entries in the History panel. Until you make further changes to the image you won’t lose the later history states if you click on an earlier one. So you can click from one history state to the next to view the image at that point in the editing process. If you click to view an image at an earlier stage of its editing and then start making changes to the image you will lose all the later history states – they’ll be replaced by your new edits. 3 Lightroom History TipsHere are three handy tips for working with Lightroom History: 1. Delete HistoryYou can delete the Lightroom history for any selected image. To do so, click the X (Clear All) button in the top right of the History panel. This removes the history steps from the History panel – it doesn’t actually remove the edits from the image – it just clears the History panel.
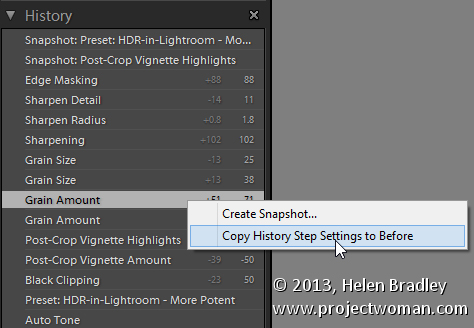
If you are like me you will use the backslash key () in the Develop module to compare the image Before and After your edits. However, sometimes you will want to compare the After version with the image as it was part way during the editing process – not as it was when you imported it. You can set the Before version of an image to be the image as it was at any earlier History step. To do this, right click the History step that shows the image at the point you want to make the Before image and choose Copy History Step Settings to Before. If the most recent history step isn’t selected, select it to return to the current state of the image. Now, when you press the Backslash key you will compare the current state of the image with the selected history state. You can also drag and drop History steps to do the same thing. So, if you are viewing the Before image you can drag and drop any History step onto the Before version and that will become the new Before version. Again – you don’t lose any history steps when you do this, you’re just creating a different Before version of the image.
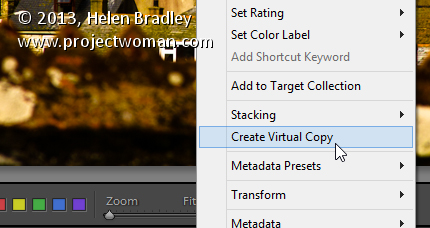
3. Create a Virtual CopyWhen you are part way through editing an image you might want to go back and try a different editing process but also keep the version of the image you are working on. You can use the History panel to facilitate this. Start by selecting the History step where you want to begin an alternative method of editing the image. Right click the image and choose Create Virtual Copy. This creates a new Virtual Copy – its starting point is the current History step – it has no other History steps associated with it. Also note that this new Virtual Copy is the currently selected image.
Before beginning to work on this image, click the original image in the filmstrip to reselect it and click the last History step in the list to return this version of the image to your current editing point. You’ll now have two versions of the image – a virtual copy extracted from the image at the point at which you want to begin an alternative editing approach and the original version with all your current edits in place.
Post originally from: Digital Photography Tips. Check out our more Photography Tips at Photography Tips for Beginners, Portrait Photography Tips and Wedding Photography Tips. The post 3 Lightroom History Tips by Helen Bradley appeared first on Digital Photography School. |
|
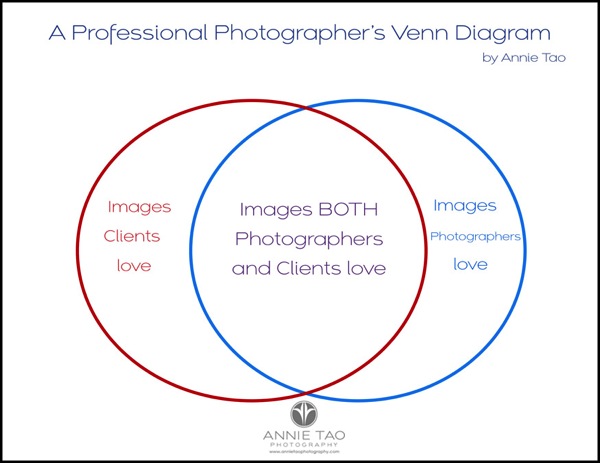
The Science of Selecting Photos Posted: 05 Nov 2013 07:17 AM PST By Annie Tao The business of photography is a complicated matter. I spend hours after each photo shoot culling, processing and sorting the photos to tell the story of the day. From a recent session of one of my own children, I realized that choosing the final photos can be described as a Venn Diagram! One circle represents images photographers love and the other circle represents images clients love. Some images overlap and some don’t. To be successful, you want the largest area to be the one that overlaps: images both photographers and clients love. It is important, however, to be aware of what images may fall into the other areas. Here is an example.
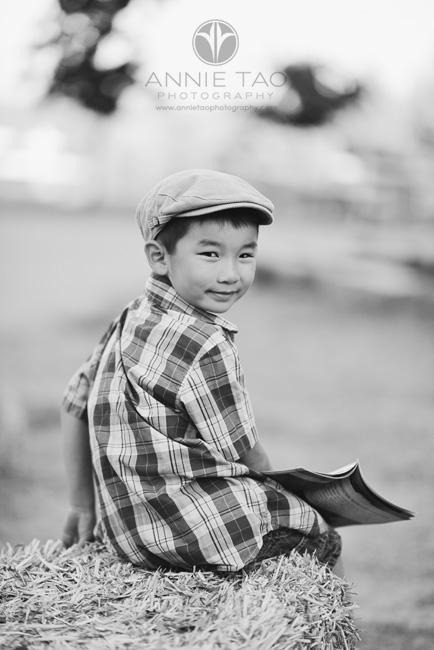
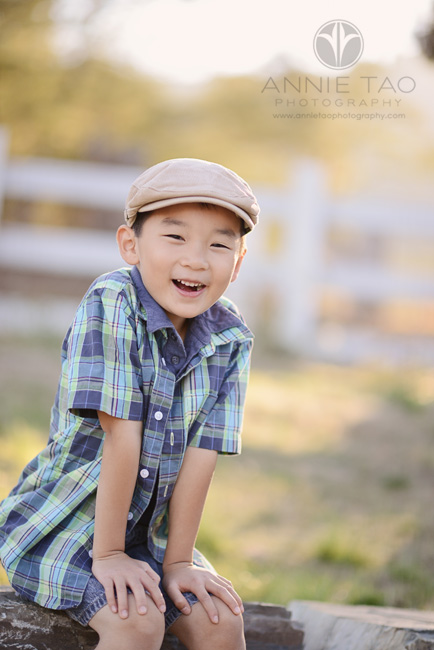
I had a photo shoot of my son just last week. He recently turned 6 years old, so this mini shoot was to capture how he loves reading, loves playing with Legos, and still has hints of having a baby face. After the shoot, I went through the images as though this was a regular client gallery, but found myself saving a few images that I know would NOT have made it into a client gallery! That got me thinking. Are there photos that I’ve left out of a client gallery that should have been in it? Below are examples of photos from this recent shoot that would make it into a client gallery…
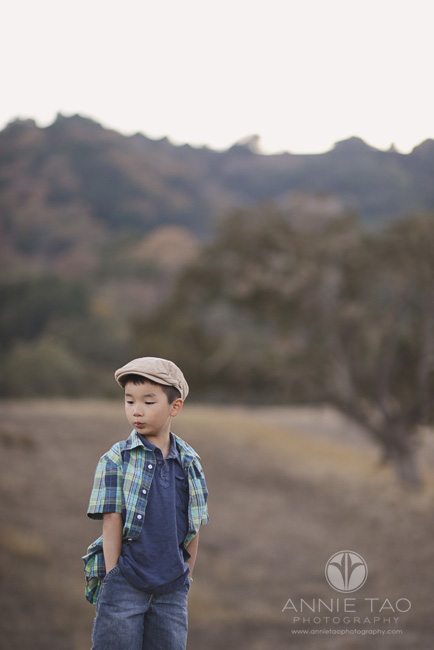
Below are examples of photos that would NOT have made it into a client gallery, but I love…
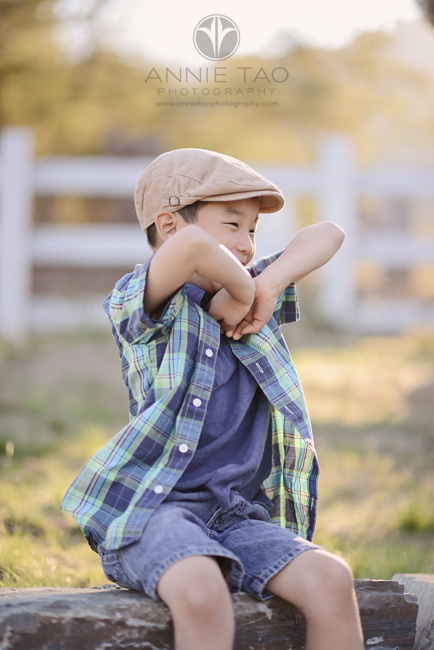
Above: he is playing with his hands and arms, which he does when he’s nervous.
Above: he is chewing gum (I can even see it in his mouth – Oy!), which is his favorite treat. What does this mean?Note: I am writing this for Children and Family Photography, but this can apply to any portrait session.
In terms of photo selection, your job as a Photographer is to choose photos that represent your artistic style. You are also a Service Provider whose ultimate goal is to make your clients happy. Annie Tao is a Professional Lifestyle Photographer in the San Francisco Bay Area who is best known for capturing genuine smiles, emotions and stories of her subjects. You can visit annietaophotography.com for more tips or inspiration and stay connected with her at facebook.com/annietaophotography.
Post originally from: Digital Photography Tips. Check out our more Photography Tips at Photography Tips for Beginners, Portrait Photography Tips and Wedding Photography Tips. The Science of Selecting Photos The post The Science of Selecting Photos by Guest Contributor appeared first on Digital Photography School. |
| You are subscribed to email updates from Digital Photography School To stop receiving these emails, you may unsubscribe now. |
Email delivery powered by Google |
| Google Inc., 20 West Kinzie, Chicago IL USA 60610 | |
