I’ve actually had my camera a couple of years but I’d still very much class myself as a beginner. Mainly because I feel that although I’m learning more all the time there’s still a lot more I feel I’d like to get a handle on before I would consider myself a confident beginner.
That said I’ve learned so much especially recently I thought it worth sharing the little I do know. If you’re a newbie photographer too, a lot of tips you find out there can seem overwhelming so this will be very simple I promise.
I mainly photograph my daughter but living by the sea has got me more interested in seascape and landscape photography which is a slightly different ball game. If you’re looking to take better photographs of your children hopefully you’ll find these useful.
△ Firstly, turn on manual mode. You will never fully grasp what your camera or yourself can do if you play it safe in automatic.
△ Go through your camera guide and make sure you know how to change the ISO, aperture, shutter speed and white balance.
△ Shoot in raw and jpeg. The main reason to shoot in raw is to give you greater control over editing. White balance settings can’t be edited in jpeg format but they can in raw. Not essential to shoot raw to begin with but it gives you much greater control as you get a bit more confident.
△ Be prepared to ‘fail’ at first. We all know the way we want the photo to come out like and it can be very frustrating when the shots aren’t as you imagined. Even the best photographers take hundreds of photos that are no good. If you’re only prepared for success at the start of your journey you’re intimidation will lead you to continue to play it safe. Embrace the getting it wrong!
△ Stick to natural light. It is pretty tricky to get decent photos indoors in low lighting. Natural light is, well more natural obviously and this lends a lot to your photography. Outdoors when the sky is overcast is a pretty good starting point as bright sunshine can actually create unflattering shadows. Or indoors on a bright day by a window. You’re more likely to get sharper photos and be more satisfied with the tones and brightness.
△ ISO, shutter speed and aperture are your new best friends. The relationship between them is what makes or breaks your photos. You can do a lot in editing but you can’t rescue a really bad photo. Believe me, I’ve tried. So read up as much as you can about these three.
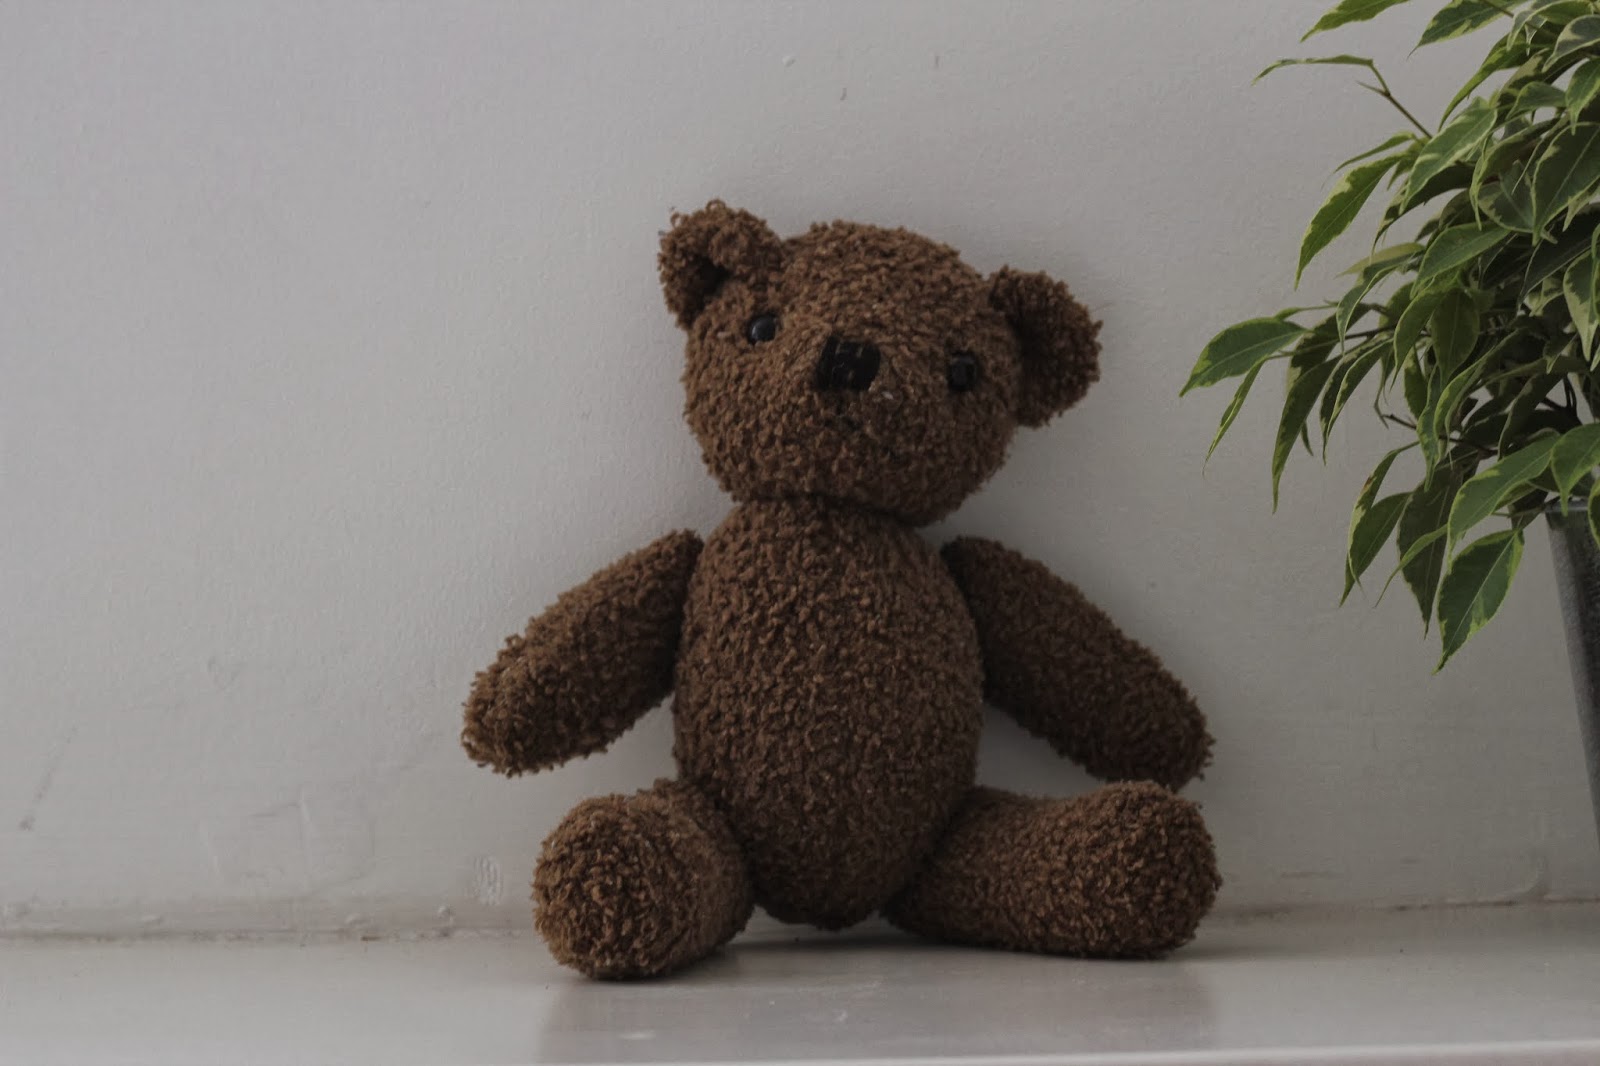
△ Start with something simple. Rather than photographing a moving toddler try using one of their dolls or soft toys. Preferably something with eyes so you can practice focusing.
△ If you only buy one lens make it the 50mm.
△ Set your ‘model’ in the well lit position you’ve chosen. Turn on your camera’s manual setting (it’s fine to use automatic focusing at first it’s the ISO, shutter speed and aperture you want to play around with first.
△ If you’re not using a tripod you don’t want to take the shutter speed lower than about 1/40 to 1/50 as it’ll lead to blurry photos from camera shake.
△ Play around with the white balance settings to see the different effects they have.
These are some unedited examples of changing aperture. The shutter speed was set at 1/40 to let as much light as I could without a tripod. The ISO I set to 400. Generally I prefer only to shoot at 100 and 200 ISO as I’m not a fan of the grainy look you get with higher ISOs. I think the rule is, try to use the lowest number possible. And the white balance I set to auto.
So with those parameters this is what happened changing the aperture…
f/1.8
f/2.2
f/3.5
f/5
So you can see straight away the difference just changing one element makes. If I had to pick one of these to use it would probably be the f/2.2 or I’d shoot a couple more changing the aperture just slightly. Then I’d brighten slightly and change the tones and colours slightly when editing.
Useful resources to get you started:
Camera settings tips//
How to choose the right shutter speed
How to choose a lens aperture
Let’s talk focus
What is ISO?
How to shoot in manual mode
Shooting in raw for beginners
General beginner tips
Online photography tutorials
Editing//
Photoshop Elements
Picmonkey (I use Royale)
Hope this is helped! And let me know if you know of any good resources worth checking out for beginner photographers so we can start collating useful tips together.


